Step 1:
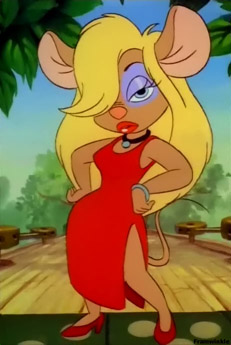
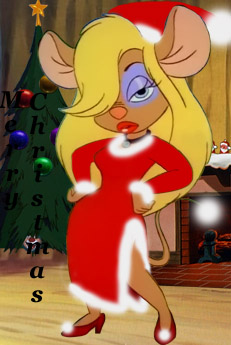
I started with my own screen capture of Gagdet in the red dress that I'd stitched together earlier in to a verticle panorama.
Step 2:
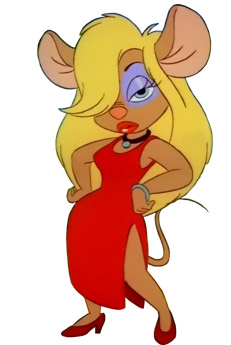
I could have just used the existing background, or added a Christmas tree, but decided that it would be MUCH nicer to use something more original, especially since the scene from DOC doesn't look even close to wintery. So, I deleted the background by making a cutout of Gadget.
Step 3:
I now had to find a suitable background to use. I decided I wanted something inside Ranger HQ where I could add a Christmas tree, window and fireplace, so I scoured a few RR episodes for something I could use and finally found one. It had to be stretched a bit to make it fit the height of the panoramic-sized Gadget, but the stretching didn't affect it too badly.

I also did a quick test of the santa dress concept just to make sure it was going to work. I added sleves to the dress using a simple coloring of her arms to match the color of the rest of the dress, and then redrew the two inside lines of her left arm in red. They got covered up in the coloring process, but would have had to be redrawn anyway to change them from brown to red. A hat and some white puffs and frill finished the concept. I decided I liked it well enough to continue.
Step 4:
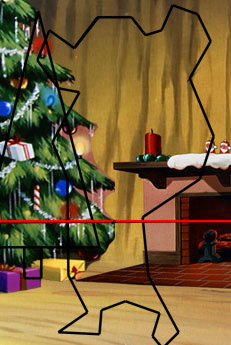
Now it was time to place the background objects, so I did a quick outline of Gadget to use as a place holder, and then made outlines of the tree and fireplace that I wanted. I decided a window just wasn't going to fit in the frame, so that idea got left out at this point. The red line was originally going to be a horizon line, since that's about where the horizon is in the original screen grab, but the actual horizon ended up no where near it.

Step 5:
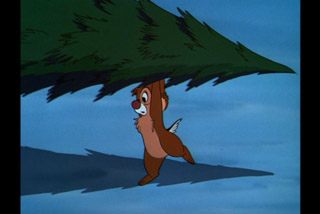
I had to find a source for the background items, so I actually went out and purchased a copy of Pluto's Christmas Tree so I could get screen grabs from it. The first background item I got was a tree from the scene where Mickey is taking the tree home, just after having cut it down. Some of the tree was cut off by the edge of the frame, but that part was going to be covered by Gagdet anyway, so it didn't matter. I tried creating my own ornaments based off of some found on Mickey's tree later in the cartoon, and toyed a bit with their colors, but ultimately decided against using them.
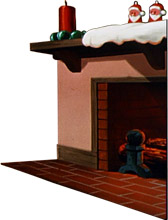
The fireplace was added a little later by cutting it out of another scene, and was difficult to incorporate into the picture because the original was skewed at an angle. I had to unskew it quite a bit to make it seem flat against the wall.

Step 6:
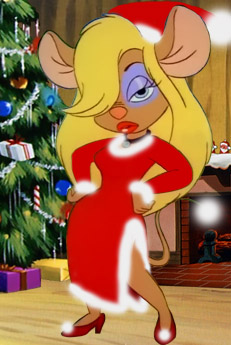
Now that I had the fireplace and tree, I put Gadget back into the scene to test it again. I also added some text to see if there was a good place to put it. There wasn't.
The fireplace was good, but the tree needed work. I played around with the ornaments on the tree a lot, but ultimately decided that I was never going to be able to decorate it myself. So, I stole one from another part of the cartoon. Since Gadget was going to cover up part of the tree, I didn't bother cleaning up the whole thing.
Step 7:
Next I wanted to make Gadget look more like Gadget by getting rid of her disguise. I darkened her hair to a more Gadgetish color, lightened her fur, and took away most of the awful eyeshadow.
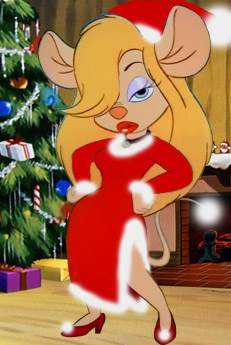
I had to do this by making cut outs of her fur and hair so I could manipulate their colors independently. For the eye, I used her fur color to cover over the excess eyeshadow, and then also lightened the color of the eyeshadow just a bit. I had to cut out her eyeball so that it wouldn't be lightened along with the eyeshadow. Put back together by itself, this collection of cutouts is almost immodest. ;)
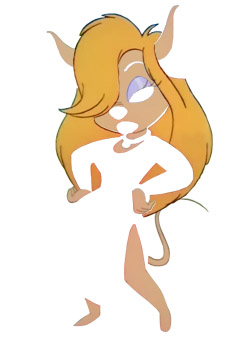
Step 8:
Finally it was time to work on Gadget's lines. They had a lot of residual background color left over from the trees and sky in the original screen capture, and it didn't look very good when put in the new setting. So, I had to pretty much draw over nearly every line on Gadget to remove the unwanted colors, change them to their correct colors, and try to even out the line thickness a bit more.
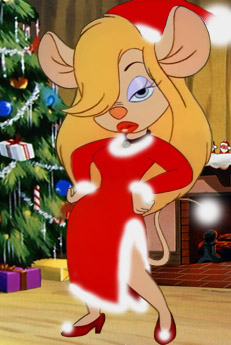
Step 9:
After redoing the white fluff so it was smooth, it could have ended there. But I really didn't like the pouty lips, so I decided to change them into a more Gadget-like smile. It was at this point that my wife also reminded me that she still needed a belt to go with the outfit. It's a good thing she reminded me, because I'm not sure I would have thought of it.
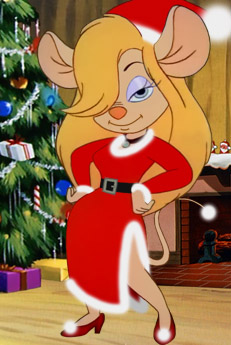
And there you have it!
This page © Copyright 2009, by Framwinkle.